
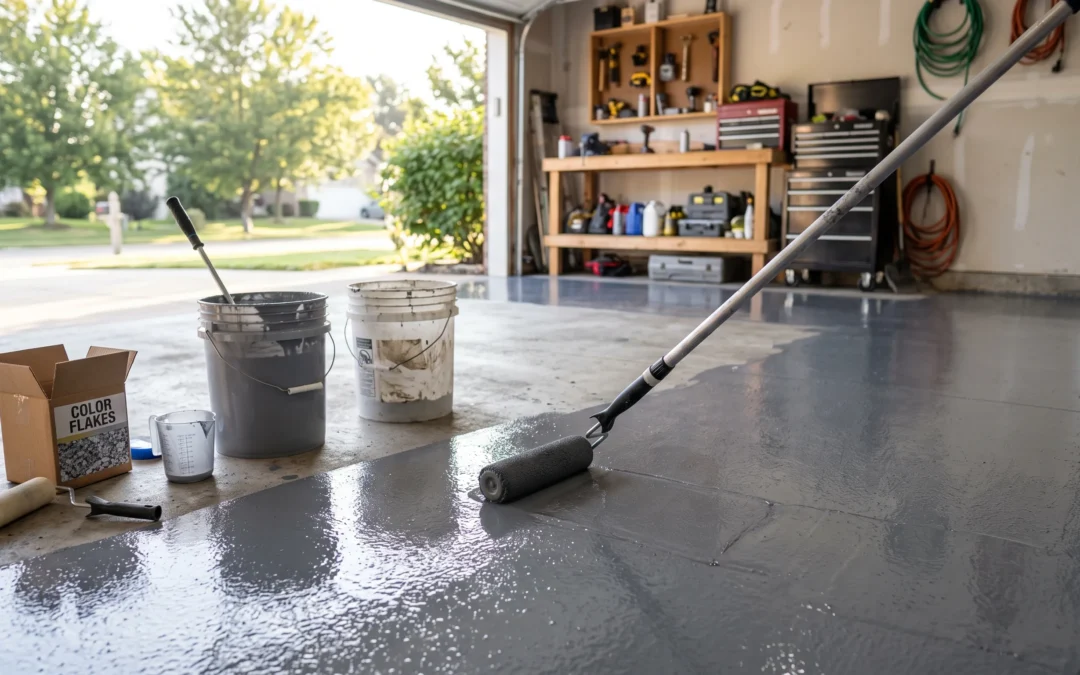
Applying garage floor epoxy takes one full weekend done right: Friday to prepare and repair the slab, Saturday to mix and roll the basecoat and broadcast the flakes, Sunday to scrape the excess and seal everything under a clear topcoat. The rolling itself is the easy part — a brush for the edges, a roller in overlapping passes for the field. What decides whether your floor lasts fifteen years or peels in eighteen months happens before the lid ever comes off the bucket. We install garage floor coatings for a living and manufacture the material ourselves, so here is the honest version of that weekend — including the parts most instructions skip.
Before the Weekend: What You’re Committing To
Plan for the garage to be empty and off-limits for three to four days. Everything comes out — cars, shelving, the freezer, the bikes. Watch the forecast: you want the slab above 55°F and no rain-driven humidity spikes, because epoxy cures by chemistry and cold concrete slows or ruins that reaction. Buy more material than the label’s coverage claims; rough concrete drinks resin, and running out mid-floor leaves a visible seam that never blends. If you’re still deciding between a store kit and a full system, read our breakdown of whether DIY garage epoxy kits are worth it first — the material you choose matters more than any technique below.
Friday: Preparation Decides Everything
Professionals grind; kits tell you to etch. That single difference explains most peeled DIY floors. Mechanical grinding cuts the smooth cap off the concrete and opens a bonding profile the resin can lock into — it’s why our crews run diamond grinders on every job, no exceptions. You can rent a walk-behind grinder with a dust shroud from most tool yards, and it is worth the effort. The full argument is in our concrete grinding guide, but the Friday sequence looks like this:
- Degrease every oil spot until water no longer beads on it — epoxy will not bond through oil, period.
- Grind the entire slab, then vacuum twice. Dust left behind becomes a release layer under your coating.
- Fill cracks and gouges with a rigid patch material and let it set overnight.
- Tape a 2-foot square of plastic sheeting to the bare slab before bed. Check it Saturday morning — condensation underneath means moisture is rising through the concrete, and a standard kit over that slab is money thrown away.
Saturday Morning: Mixing Without Mistakes
Two-part epoxy is unforgiving arithmetic. Combine the resin and hardener at exactly the stated ratio, mix with a drill paddle at low speed for the full stated time, and scrape the bucket walls as you go — unmixed streaks cure soft and show up later as sticky patches. From the moment the parts meet, the clock runs. Most products give you 30 to 45 minutes of working time, and hot weather shortens it. Mix only what you can roll in that window, and never scrape the last dregs from the bucket onto the floor; the material clinging to the sides is the worst-mixed material in the batch.
Saturday: Rolling the Basecoat and Broadcasting Flakes
Work from the back wall toward the garage door so you never trap yourself. Cut in a band along the walls and around any posts with a brush, then roll the field in sections a few feet wide, overlapping each pass into the wet edge of the last one so no lap lines cure into the finish. Keep the coat even — puddles cure cloudy and thin spots wear through first.
If you’re doing a flake floor, the flakes go into the wet basecoat, section by section, as you roll. Toss them upward and let them rain down rather than throwing them at the floor; it spreads them evenly. Here is where a professional flake floor genuinely differs: we broadcast flake to full rejection, meaning the wet resin is completely saturated with flake until it physically cannot hold more. That takes many times the flake a kit box includes, and it’s the difference between a decorative dusting and a thick, uniform, texture-hiding surface. A kit’s “light broadcast” look is a supply decision, not a skill gap — the box simply doesn’t contain enough flake.
Sunday: Scrape, Vacuum, Topcoat
Once the basecoat has cured overnight, scrape the whole floor with a flat floor scraper to knock down loose and vertical flakes, then vacuum every bit of the excess. What remains is your finished texture. The clear topcoat goes on the same way the basecoat did — cut in, roll in overlapping passes — and it’s the layer that takes all the wear and all the sunlight. This is the coat where product choice shows most: our systems finish with a UV-stable polyaspartic topcoat, which resists tire abrasion and never ambers in daylight, while the clear coat in most kits is more epoxy, which yellows near a sunny garage door within a couple of years. If you upgrade one component of a DIY job, make it this one — see our polyaspartic floor coating page for why.
After the Weekend: Cure Times and Honest Expectations
Foot traffic is usually fine after 24 hours, but keep the cars out for several days — driving on a coating that walks like it’s cured but hasn’t fully crosslinked is how brand-new floors get tire marks that never buff out. Follow your product’s data sheet, not your patience.
And a straight answer about results: a careful weekend with a quality kit produces a good-looking floor. It will still be a fraction of the thickness of a professional system, without a moisture-vapor-barrier epoxy basecoat under it or a warranty behind it. Our installs compress this whole sequence into a single day for a flake system because the crew, the grinders, and the fast-curing chemistry are all built for it — and the result carries a limited lifetime residential warranty. If the weekend goes sideways, that’s recoverable too; peeling and patchy coatings are a routine fix for us, as covered in how to fix peeling epoxy flooring.
Frequently Asked Questions
How long does it take to apply garage floor epoxy yourself?
Budget a full weekend of work plus several days of cure: one day of grinding, degreasing, and repairs, one day for basecoat and flakes, a third session for scraping and the topcoat, then two to five days before vehicles return. A professional crew with polyaspartic chemistry completes a flake floor in one day.
What temperature is best for applying epoxy?
Between roughly 55°F and 85°F, with the slab itself — not just the air — in that range. Cold concrete slows the cure and can leave the film soft or hazy; heat shortens your working time dramatically. In Southern California, early morning starts in summer and midday work in winter solve most of it.
Is one coat of epoxy enough for a garage floor?
No. A single coat is a paint job, not a floor system. A durable garage floor needs a basecoat bonded into ground concrete plus a clear wear-layer topcoat at minimum — the topcoat is what actually takes the tires, the dropped tools, and the UV.
When can I park my car on new epoxy?
Walk on it after about 24 hours; park on it only after the full cure stated on your product’s data sheet, typically three to seven days for DIY epoxies. Polyaspartic-topped professional systems return to vehicle service far sooner — usually within 24 to 48 hours.
Top Epoxy Flooring manufactures and installs its own VOC-free coating systems across Southern California, with a limited lifetime warranty on residential garage floors. If you’d rather have the whole weekend back, call (818) 945-0915 for a free estimate.
Recent Comments