
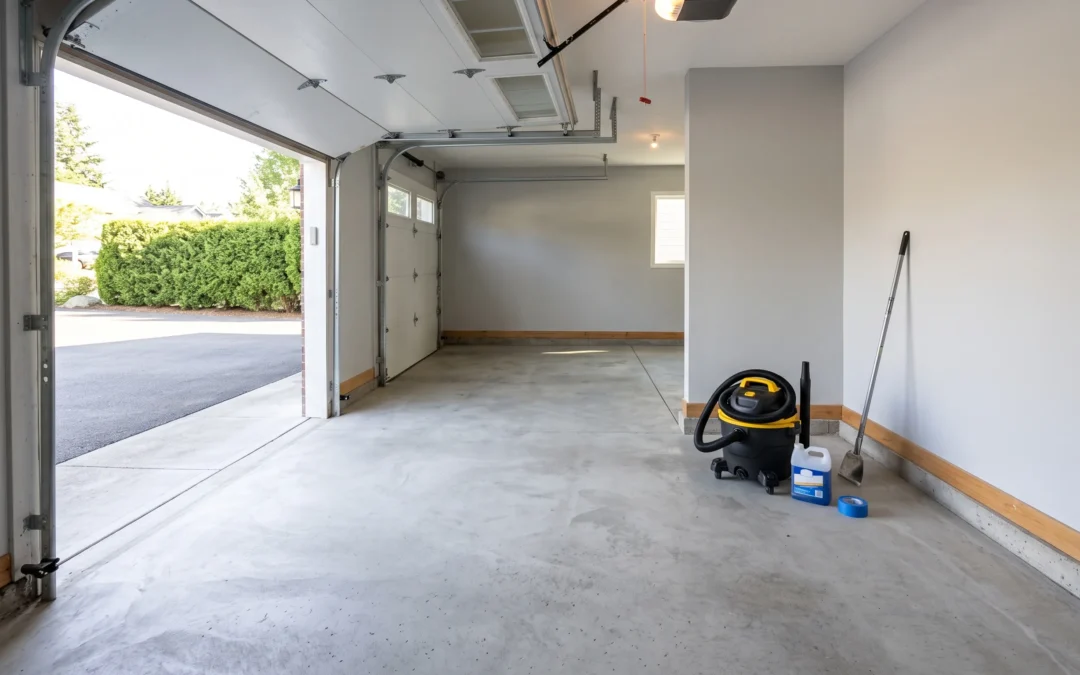
Use this page as a literal checklist: every box below has to be ticked before epoxy touches your garage floor, and the boxes are grouped by when they happen — a week out, the day before, prep day itself, and the final walk-through before coating. Coatings don’t fail from bad rolling; they fail from a skipped box. This is the working checklist behind our own garage floor coating installs, adapted for a homeowner running the job solo. Print it, tape it to the wall, and be ruthless with yourself about what’s actually checked versus almost checked.
One Week Before
- ☐ Watch the forecast — pick a stretch with the slab above 55°F, below about 85°F, and no marine-layer humidity spike on coating day
- ☐ Run the moisture test: tape a 2-foot square of plastic sheeting tightly to the bare slab for 24 hours; condensation or a dark patch underneath means you need a moisture-vapor-barrier epoxy basecoat, not a standard kit
- ☐ Run the sealer test: pour water on several spots — beading water means a sealer or curing compound that must be ground off
- ☐ Walk the slab and inventory every crack, spall, gouge and oil spot on paper
- ☐ Reserve a walk-behind diamond grinder and edge grinder from the rental yard (see why grinding, not etching, on our concrete grinding page)
- ☐ Order materials with a margin — coverage claims assume smooth concrete, and ground concrete drinks more; a mid-floor material gap never blends in
- ☐ Arrange somewhere for the cars to live for up to a week
The Day Before: Empty and Clean
- ☐ Remove everything — vehicles, shelving, workbench, water heater clearance permitting; “I’ll coat around it” is how floors get seams
- ☐ Sweep, then shop-vac the whole slab including corners and the door track
- ☐ Degrease every oil and grease spot: apply degreaser, let it dwell, scrub with a stiff brush, rinse hot if possible, repeat until rinse water sheets instead of beading
- ☐ Strip any tire-shine or silicone residue near parking spots — silicone is invisible and epoxy refuses to bond over it
- ☐ Let the slab dry fully overnight with the door cracked for airflow
Prep Day: Grind, Repair, Vacuum
- ☐ Grind the entire slab to a uniform matte texture — roughly 100-grit-sandpaper feel, lighter in color, no shiny lanes left where the tires ran
- ☐ Grind the perimeter and corners with the edge grinder — peeling that starts at the walls is the signature of skipped edges
- ☐ Re-grind every degreased oil spot aggressively, then water-test it: water must soak in and darken the spot
- ☐ Fill cracks and spalls with rigid patch material; once set, grind patches flush (anything worse than surface damage belongs to epoxy floor repair before a coating makes sense)
- ☐ Decide each joint’s fate: dormant control joints get filled and coated over; joints that still move get honored or filled flexible — never filled rigid
- ☐ Vacuum the whole slab twice, letting airborne dust settle in between
- ☐ Tape your termination line at the garage door and mask the stem walls
Final Walk-Through — Do Not Coat Until All Five Pass
- ☐ Water check: a splash anywhere soaks in and darkens the concrete within a minute — no beading, anywhere, including old oil spots
- ☐ Dust check: a dark cloth wiped across any square foot comes up clean
- ☐ Texture check: uniform matte profile across the field, edges and corners — no glossy islands
- ☐ Moisture check: plastic-sheet test passed, or the system in your buckets is rated for the reading you got
- ☐ Conditions check: slab temperature in range now and for the cure window, and the slab surface at least 5°F above the dew point
Red Flags That Stop the Job
Some findings mean pause, not push through. Standing water appearing at cracks, white crusty efflorescence returning after cleaning, or a failed plastic-sheet test on a kit-grade product all mean the slab needs a moisture-rated system. An old coating covering most of the floor means full mechanical removal first — coating over a mystery coating inherits its bond, which is how the cascade described in how to fix peeling epoxy flooring begins. And a slab that’s crumbling, dusting, or visibly settling needs concrete work before coating work. Hitting a red flag isn’t failure — it’s the checklist doing its job before your materials did it the expensive way. It’s also a reasonable moment to weigh the whole project honestly against a professional install; our comparison of DIY garage epoxy kits versus professional systems is the place to start.
Tools and Supplies — Stage It All Before You Start
- ☐ Walk-behind grinder + edge grinder (rented), with dust-shroud vacuum
- ☐ Shop vacuum with a clean filter, push broom, dustpan
- ☐ Degreaser, stiff scrub brush, rags
- ☐ Rigid crack filler and putty knife; flexible joint filler if you have working joints
- ☐ Plastic sheeting and tape for the moisture test; painter’s tape for masking
- ☐ Mixing drill and paddle, measuring containers, rollers, brushes, roller pole, spiked soles if you have them
Frequently Asked Questions
How long does garage floor prep take?
For a two-car garage done properly: a day of clearing, degreasing and drying, plus a full day of grinding, repairs and vacuuming — with the moisture test running 24 hours sometime that week. Prep legitimately takes longer than coating, and that ratio is correct.
What if my garage floor was previously painted or coated?
All of it comes off before new epoxy goes down — ground away mechanically, not just scuffed. A new coating over old paint is only ever as attached as that paint, and old films almost always lose their grip first, taking your new floor with them.
What weather is right for epoxy prep and coating day?
A dry stretch with the slab between roughly 55°F and 85°F, and on coating day, surface temperature at least 5°F above the dew point so moisture isn’t condensing invisibly on the concrete. In coastal Southern California, that mostly means avoiding heavy marine-layer mornings.
Do I really need to grind if my concrete already feels rough?
Yes. Rough-feeling concrete can still carry curing compound, sealer, or burnished zones that block bonding — texture and openness are different things. The water-absorption test, not your palm, is the judge: if water doesn’t soak in everywhere, the surface isn’t open everywhere.
Top Epoxy Flooring runs this checklist with commercial grinders and its own manufactured VOC-free systems, turning a week of homeowner prep into a one-day flake install — limited lifetime residential warranty included. Call (818) 945-0915 for a free estimate.
Recent Comments